Thursday, January 29, 2015

design boards are my new bff


I'm teaming up with the fun people at Chairish today to create a design board inspired by one of their amazing rugs

 In answering their question of how I like to infuse color into a space, I would say the easiest way is to use something colorful that you love as your inspiration--a rug, a pillow, a dish towel, anything really.   
Don't just pick one color you like or you'll constantly be asking, "does this go?" and annoy the heck out of your friends (not that I've ever done that, of course!).  
If you pick a piece that already has great color combinations then you already know it works well together.  

This rug was said inspiration.  If you look closely, you'll see red, gold, cream, blue, purple, black--it's easier to design a room when you already have great colors like these.

   Surely you've heard of Chairish, right? It is an oh so cool website where design lovers buy and sell their fabulous finds.  Whether you're wanting to sell, buy or just be inspired by their creativity, you won't be disappointed.


Here are the sources for all of these great pieces:

The rug was the original inspiration from Chairish and can be found here.  They have a lot of great rugs.


This couch--the color, the fabric, the shape, I love it so...
You can find it at One Kings Lane.


I would paint the room white and install this lovely wallpaper from Houzz on one wall.


You can find this side table here; it's also from Chairish.


I love this table but in real life I would need to have rounded edges.  Glass corners and rowdy boys do not mix well.


All pillows are from Sukan Handmade Design, also on Etsy.


You won't believe this light--it is a DIY at One Kings Lane.  
They give detailed instructions on their site.  So cool.


Gerhard Richter (I can dream, can't I?!)


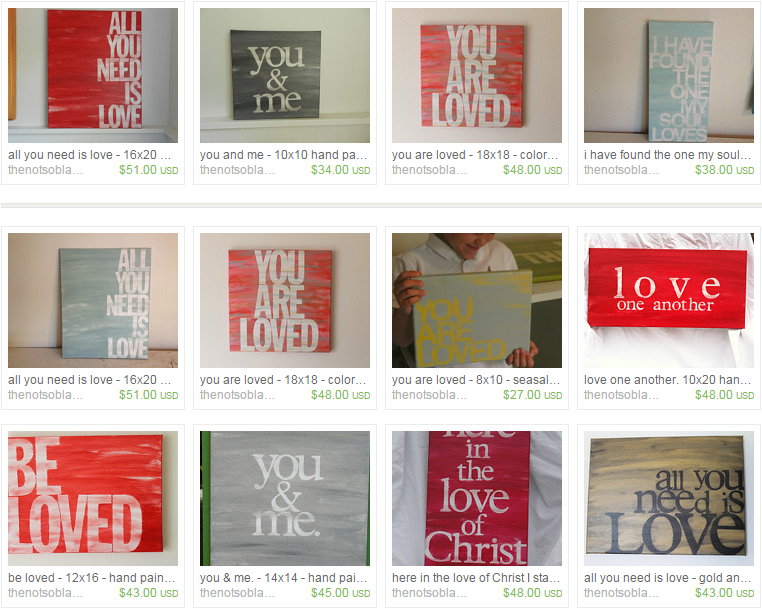
A friend of mine, Raina Hampton painted this piece.  Such talent!


Swing Chair is from Urban outfitters--because we wouldn't want our room to take itself too seriously.


This sunburst mirror is also a Chairish find. 


And of course this piece can be found here.


This has been such a fun project.  Have you ever created a design board?  I'd love to know your favorite finds or tips.


Wednesday, January 28, 2015

the making of a light...and a nook...and a boy...


Since our oldest has a large closet, way larger than he needs, we decided to make a desk nook on one side of it.  The most fun part was making the light for only a few dollars.  We've done this many times before, and so far it never gets old.  


All you need is a pendant light kit, like this one from Hobby Lobby (make sure to use your 40% off coupon), some sort of basket--I used a wire one here (also from the hobs for half off), and maybe a zip tie.  


 Thread the pendant wire through the basket.  It's best to do this without the light bulb, but I was impatient so I risked shattering glass everywhere.  


Attach the pendant to the basket.  I used a zip tie on this light but the type of basket will determine what you use, if anything.


 Now you're ready to attach your light.  You can use a small hook or staple gun (just don't puncture the wire).  I used both on this project, the hook to hang the light and staples to keep the wire in place.


Here's another cool idea for hanging these lights.


 For the rest of this project, I used black chalkboard paint that I had on hand for the wall.  We had the two wooden planks from another project so we painted them and attached them to the wall.  The chair is from Wal-Mart years ago.  (You'll remember this post where I sang the praises of these chairs--and we still love them.  Unfortunately they are no longer $15, but I would gladly pay more because they have all lasted and OH MY GOSH WE ARE SO ROUGH ON EVERYTHING!) And the poster came from The Rusted Arrow.  I didn't want to do a lot to this space because the idea is to not be distracted and SIT AND STUDY.  But we'll see about that.  Where do you and your family like to read and study?  


Wednesday, January 21, 2015

Sunday, November 16, 2014

it's Christmas time at the not so blank canvas


it’s Christmastime at

the not so blank canvas...
Looking for Christmas gift ideas? 
Why not skip the department stores and give something that adds               
color, meaning, and style to any room? 

Place your order by December 10th to ensure that you receive it by Christmas.


Special Teacher Gift Offer
Buy two, get one free of the 8x8 BE MERRY or JOY pieces. 
These make great teacher, Secret Santa, or hostess gifts! 
Pictures of these and other Christmas canvases can be found at thenotsoblankcanvas.etsy.com

Gift Certificates
Since it's sometimes difficult to pick the right piece for someone, why not give them a gift certificate from The Not So Blank Canvas? You can either gift them an amount or a size.
Business Orders
If you need Christmas gifts for employees, co-workers, volunteers, etc., order by November 28th and receive a 20% discount on bulk orders of 10 or more.

                  Shop:  thenotsoblankcanvas.etsy.com
         Facebook:  facebook.com/thenotsoblankcanvas

     Contact: hharrison1976@yahoo.com

Monday, October 27, 2014

Simple door storage aka a boy's room essential


Happy Monday friends!  After living in 3 different houses with three boys through the baby/toddler/little kid/big kid/teenager stages, with all kinds of room arrangements, I've noticed that there are a few things that are essential to a boy's room.  

 One the simplest ones that has made the biggest difference is 
a place for all their little "treasures." 
You know those treasures, the ones that don't need to go in a keepsake album but also don't need to be thrown away...keys, locks, nerf bullets, matchbox cars, army figures.  When they were little and I helped them clean their room I would say, "put it in it's home," which meant that it was up to me to find a home for everything.   

This was especially useful when we lived in houses with no storage.  We've used these shoe organizers in multiple rooms--including the pantry and laundry room.   If you came to my house right now, you would find 5 of these.  They are quick and easy to install--the only reason this is a diy is that I use ribbons and tacks instead of the metal hangers that come with it because they scratch the doors.


Make sure to get one with the clear plastic so you can see what's in the pockets.  You can find these at any Wal-Mart or Target.

Here is where the diy part comes in.  


 Measure and cut strips of ribbon, all the same length.


Use flat tacks on the top of the door to attach the ribbons. 


Hammer them in once your fingers give out.


Cut off the excess ribbon so they won't be visible when the door is shut.


I put this one up when they were at school, but trust me, by 3:30pm it will be full of little crap treasures.

 Here's one from my oldest's closet door.


Yes, that's a molding of his teeth from when he got braces.  Sentimental, that boy.


Tuesday, October 21, 2014

Light Rehab


Today's DIY is a super simple way to change a light from the builder grade ceiling mount to a more updated look. 

 It's fun to make a new home reflect your family's personality but moving into a new house when everything needs updating can be a little overwhelming. 

There are some things you want to change immediately, some things you can live with for a while, and then there are those changes that may not be a permanent solution but are definitely better than before.


When we moved into our new house, we replaced a few lights but we couldn't replace all of them at once.

 I love this ceiling light but knew I could tweak what we already had for way less.


All that you need is a lamp shade--I bought this one at Home Goods, a ladder or stool (or woobly chair in my case), and maybe some string--I didn't need any with this light but sometimes I have used string to secure the shade. 


First, you'll unscrew the brown, round tip and take off this glass bowl.


Next, take the bulbs out so they won't break while you're adding the shade.


Now here is where this can be a little tricky depending on the type of shade you have.  With this one, I just had to thread the wire part of the shade onto the screw and then use the rubber spacer that was already on the light to hold it in place.  For other types of shades you may need to use string to secure it in place.


Once you have the shade where you want it and it seems secure, you can put the light bulbs back in.


And you're done!


More light rehabs coming soon...


Wednesday, October 15, 2014