Thursday, February 20, 2020

zach


This is Zach's room.  His sister's room was one of the first ones I designed, and I'm working on his parent's bedroom now--can't wait to show you!


This is Zach's room before--pretty typical teen boy's room.I love when a room has something that at first seems like a limitation but later becomes your favorite element....Enter the wooden knee wall.  I thought about painting it, but I'm so glad I decided to use it as the extra large headboard.


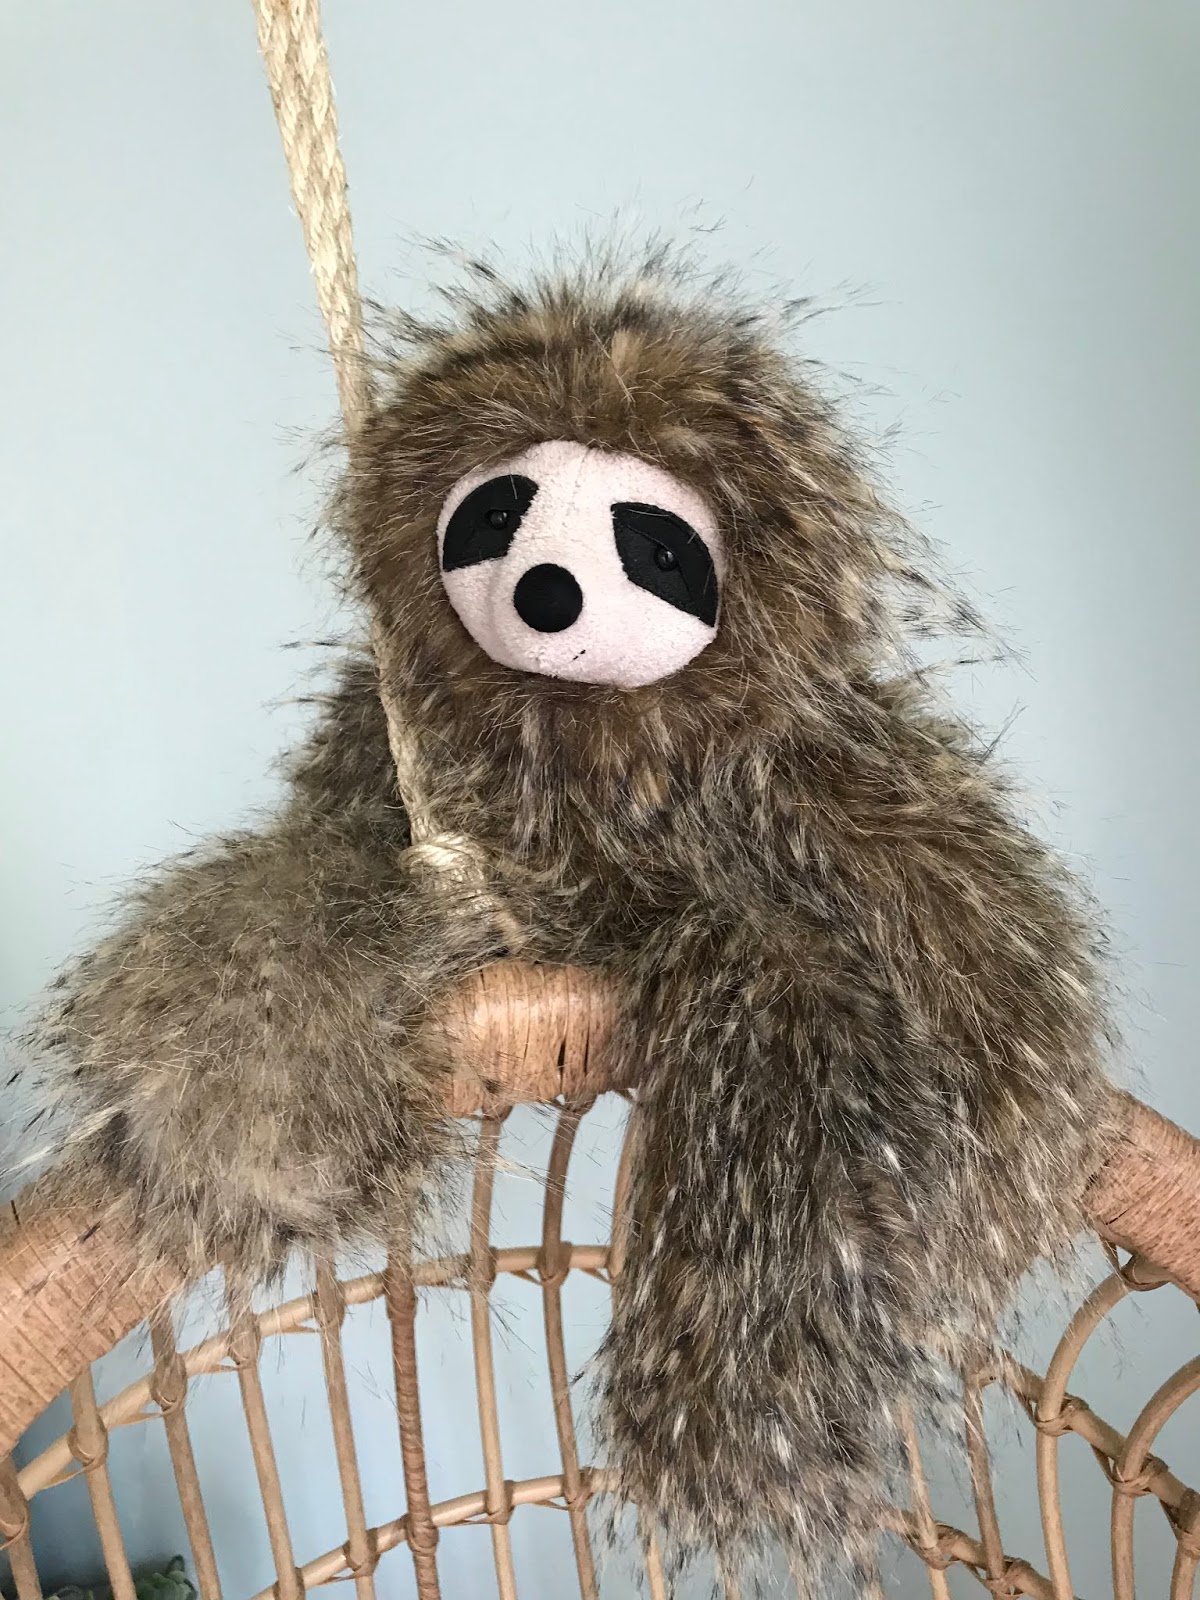
I've decided to add a hammock to a room every chance I get.  Zach's mom had this one still in the package.  I hear he's in it all the time!


Zach is very musical so I wanted to not just give him a place for his guitars, but use them as art.  These guitar mounts from Palmer Music were perfect and easy to install.  We went with a warm gray on the walls. 


We needed side tables that were open because of the placement of the air vents.  These from Target were exactly what we needed. 


I had a friend call me weeks before I began this room: 
"I'm shopping and I found these lights. I don't need them but they're too cool not to get--could you use them?"  To which I replied, "I'll be right there!"  

I found a plug remote at the hardware store so he can just click a button to turn them off and on instead of having to reach.  The bedding is a chambray duvet cover and fun football sheets.  Want a tip?   The main bedding in a kid's room shouldn't be childish, but sheets certainly can be! And pardon the wrinkled sheets--who has time to iron sheets? 


We found the football poster print on Etsy and then ordered the frame online as well.  I hear that he is replacing this poster with a different player because of recent scandals.  The moral of that story is don't spend a lot of money on art of your favorite players because when said players get into trouble, you'll be glad it's just a poster you have to replace!


Wednesday, February 19, 2020

jorgia


I finished this room a while back but forgot to share it with you.  
I worked on Jorgia's older sister's room first and now it was her turn.  
I'll begin the youngest of the three girls in the next few weeks.  
And then I hear it's mom and dad's turn. 


The space was the upstairs bonus room and Miss Jorgia wanted a corner of it to herself, 
so that is what we did!


I made this valence by cutting a spare curtain panel from the other larger window and hanging it with a tension rod.  

 The macramé wall hanging is a table runner draped over a stick. 
When I told Jorgia, "go find a stick in your yard," she had no idea why, but did it anyway. :)


Every time I work on a girl's room (so far the boys haven't been interested!), we find time to shop and paint an abstract painting using colors that will be in her room. 


Handpainted walls is something I've wanted to do for a while and Jorgia's mom was willing to let me try it.  


Jorgia and her sisters helped me with the yarn art hanging beside the bed.  I brought an extra piece of bamboo from my yard and they cut all the yarn and helped me tie it on.  Another easy way to add color to a large wall. 


Wednesday, August 15, 2018

Furniture Rehab


Happy Wednesday friends!  Yesterday I shared a recently finished room with you and today I'm sharing all of the details on the furniture.  My client already had all of the furniture you'll see today, but I redid it all! 


The Headboard:


Since the client wanted to move up to a queen bed and already had this headboard, I decided to try sanding it down to raw wood.  Painting would be plan b if the wood wasn't pretty.


First I sanded it completely down to the bare wood and cleaned out the dust with a dry brush. 
Once sanded, I thought the stain left in the crevices was a too dark so I painted it with the some of the chalk paint I used on the dresser, and then sanded again. 


I wasn't sure how it would turn out--but oh my gosh I love it!  


The Dresser:


This dresser belonged to the client's great great grandmother.  It just needed some new paint and knobs.


After painting, I distressed and waxed it.


The Desk and Side Table:


It's amazing what new paint can do!


Thanks for stopping in today!  Have a room or furniture that needs some help?  Message me! I would love to work with you:)

Tuesday, August 14, 2018

Alpacas, sequins, and fur, oh my!


I'm beyond excited to share this room with you today.  We planned it all out and then when my client went on a trip with her grandparents, we did the installation.  
She was turning 10 and this room redo was her birthday present!

I'll begin with a few befores and then show you around the finished room.  At the end I'll give you more design details, and tomorrow (click here to see!) I'll share all the furniture rehabs--let's just say nothing was left untouched!

This space includes so many of my favorite things: white linen bedding, hanging rattan chair, walls the color of water, an alpaca, fur, sequins, a canopy, bamboo, natural wood, collaborative abstract art... I could go on, but how about I show you?!


A couple of before pictures:  you can see it's a fun room, but the client wanted a fresh new space.


Here is our final design board.  After meeting in the girl's room, I typically give 2-4 design board options, we tweak them a bit and then land on one.  

I chose Tidewater by Sherwin Williams for the walls.  


Here we are having no fun at all...shopping, Starbucks, talking...it's actually one of my favorite things about designing girls' rooms.  
After deciding on the design, I always give the client the option to shop together for some of the key pieces.  I either find the other items online or continue the hunt for the perfect thing!...or make it myself as you'll see below. 

Ok, I'll quit talking for a minute so you can look around.  Make sure to scroll all the way through so you can see an inexpensive plant hack idea!


Can we please have a moment of silence for this cute alpaca.  I smile every time I look at him!


I also give my client the option of painting an abstract with me to hang in the room.  It's so important to encourage these girls in their creativity and show them they can create something beautiful!

When brushes don't do the trick we use flashcards...


...or our hands....


Here's the finished art!  


This canopy was an idea I had, and my client said go for it! I'm thrilled to report that it worked!  I used bamboo for the two rods.  


Using several different textures on the bed is always a good idea.


I love the non-presumptuous look of this white linen.


Ok, how about a few more details---


I bought this pom pom beaded garland before we started on the room design but I knew it would be a great inspiration.  The wood beads relate nicely to the other wood tones around the room--the headboard, bamboo rods with the canopy, lamps, and rattan chair.  


Once again, these battery operated candles saved the day--you can put them on "timer" so they only stay on for 5 hours and won't destroy the battery life. 


coasters...


a sloth, naturally...


rose gold...


If you follow me on instagram  @thenotsoblankcanvas you've already seen this plant.  
My client had the gold pail and the faux twig/branch/plant (what do you call this thing??) was half off.


Thanks for stopping in today.  Tomorrow I will share all the furniture rehabs we did for this room, including my favorite headboard redo ever!