Showing posts with label tree limbs. Show all posts

Tuesday, August 14, 2018

Alpacas, sequins, and fur, oh my!


I'm beyond excited to share this room with you today.  We planned it all out and then when my client went on a trip with her grandparents, we did the installation.  
She was turning 10 and this room redo was her birthday present!

I'll begin with a few befores and then show you around the finished room.  At the end I'll give you more design details, and tomorrow (click here to see!) I'll share all the furniture rehabs--let's just say nothing was left untouched!

This space includes so many of my favorite things: white linen bedding, hanging rattan chair, walls the color of water, an alpaca, fur, sequins, a canopy, bamboo, natural wood, collaborative abstract art... I could go on, but how about I show you?!


A couple of before pictures:  you can see it's a fun room, but the client wanted a fresh new space.


Here is our final design board.  After meeting in the girl's room, I typically give 2-4 design board options, we tweak them a bit and then land on one.  

I chose Tidewater by Sherwin Williams for the walls.  


Here we are having no fun at all...shopping, Starbucks, talking...it's actually one of my favorite things about designing girls' rooms.  
After deciding on the design, I always give the client the option to shop together for some of the key pieces.  I either find the other items online or continue the hunt for the perfect thing!...or make it myself as you'll see below. 

Ok, I'll quit talking for a minute so you can look around.  Make sure to scroll all the way through so you can see an inexpensive plant hack idea!


Can we please have a moment of silence for this cute alpaca.  I smile every time I look at him!


I also give my client the option of painting an abstract with me to hang in the room.  It's so important to encourage these girls in their creativity and show them they can create something beautiful!

When brushes don't do the trick we use flashcards...


...or our hands....


Here's the finished art!  


This canopy was an idea I had, and my client said go for it! I'm thrilled to report that it worked!  I used bamboo for the two rods.  


Using several different textures on the bed is always a good idea.


I love the non-presumptuous look of this white linen.


Ok, how about a few more details---


I bought this pom pom beaded garland before we started on the room design but I knew it would be a great inspiration.  The wood beads relate nicely to the other wood tones around the room--the headboard, bamboo rods with the canopy, lamps, and rattan chair.  


Once again, these battery operated candles saved the day--you can put them on "timer" so they only stay on for 5 hours and won't destroy the battery life. 


coasters...
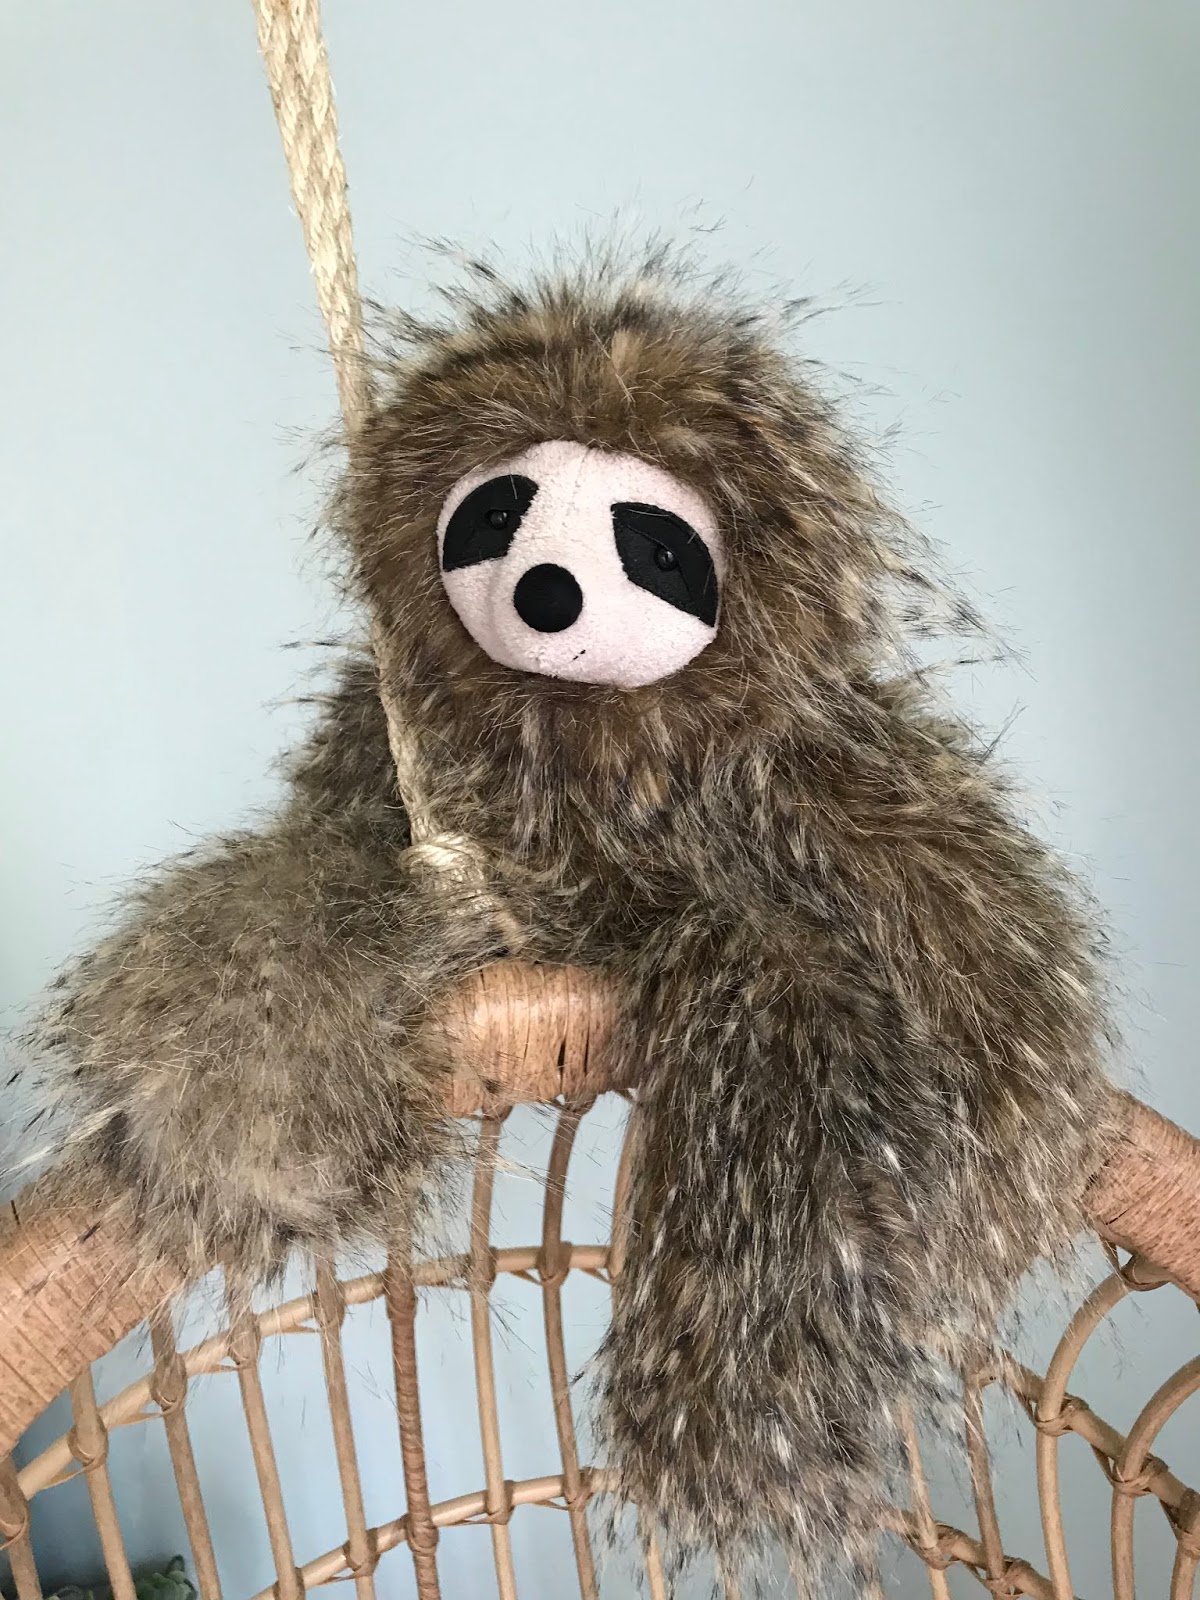

a sloth, naturally...


rose gold...


If you follow me on instagram  @thenotsoblankcanvas you've already seen this plant.  
My client had the gold pail and the faux twig/branch/plant (what do you call this thing??) was half off.


Thanks for stopping in today.  Tomorrow I will share all the furniture rehabs we did for this room, including my favorite headboard redo ever! 


Tuesday, April 19, 2016

the painted pillow


When I ordered this pillow cover from h&m I didn't know what I'd do with it, but knew that the possibilities were worth $4.99.  By the way, who knew that h&m had such great bedding!?  My mom got the boys linen duvet covers and shams for Christmas from there, and we love them.


 I honestly don't have any photos of the painting process because I really didn't think I would like it, and especially wouldn't post about it. 

But one day as I was painting the canvas you see the corner of this photo, I decided to experiment with painting on the pillow cover.  
I placed a piece of cardboard inside the cover (there's a zipper in the back) so it wouldn't bleed through.  I used both fabric paint and acrylic paint.  
After it dried, I removed the cardboard and put the pillow form in the cover. 


I love the way it turned out!
I should probably make a disclaimer that this is not the pillow you'll snuggle up with--it is not soft.  It's just a simple way to add color to a room.  
Wouldn't this be a fun project to do with your daughter for her room?


You can barely tell in the photos, but the gold that I used was metallic so in person it catches light--so fun!


I found the turquoise chair at a flea market in Shreveport.  I didn't even have to paint it!  The frame on the wall is from the trash, and the branch is one that was on our porch one day that I decided to hot glue it to my wall.  Don't worry, it comes off easily.

One more thing--do y'all have the Color Snap App from Sherwin Williams?  You can take any photo and match the colors to make a color pallette.  So if you have trouble putting colors together for projects like this or for decorating a room, you could use a picture to get started. 

Here are a few photos that inspired me to make a color snap pallette. Once it matches all the colors, you can click on any of the small squares at the bottom to see the name and number of the color.  


Wednesday, January 28, 2015

the making of a light...and a nook...and a boy...


Since our oldest has a large closet, way larger than he needs, we decided to make a desk nook on one side of it.  The most fun part was making the light for only a few dollars.  We've done this many times before, and so far it never gets old.  


All you need is a pendant light kit, like this one from Hobby Lobby (make sure to use your 40% off coupon), some sort of basket--I used a wire one here (also from the hobs for half off), and maybe a zip tie.  


 Thread the pendant wire through the basket.  It's best to do this without the light bulb, but I was impatient so I risked shattering glass everywhere.  


Attach the pendant to the basket.  I used a zip tie on this light but the type of basket will determine what you use, if anything.


 Now you're ready to attach your light.  You can use a small hook or staple gun (just don't puncture the wire).  I used both on this project, the hook to hang the light and staples to keep the wire in place.


Here's another cool idea for hanging these lights.


 For the rest of this project, I used black chalkboard paint that I had on hand for the wall.  We had the two wooden planks from another project so we painted them and attached them to the wall.  The chair is from Wal-Mart years ago.  (You'll remember this post where I sang the praises of these chairs--and we still love them.  Unfortunately they are no longer $15, but I would gladly pay more because they have all lasted and OH MY GOSH WE ARE SO ROUGH ON EVERYTHING!) And the poster came from The Rusted Arrow.  I didn't want to do a lot to this space because the idea is to not be distracted and SIT AND STUDY.  But we'll see about that.  Where do you and your family like to read and study?